Mailgun webhook fan-out
How to send mailgun webhooks to multiple destinations
Transactional emails are widely used in most apps. Systems requests email confirmation, dispatch password recovery emails, notifications, and more. Sending the emails is one thing, but what about tracking delivery and performance? Did that user get that email confirmation message? These unknowns could lead to unexpected problems. Even though this data is available via dashboard, webhooks offer a much better alternative where you just supply the URL and you get almost instant notifications about events.
In this article we will explore how we can deliver webhook notifications to multiple systems at once, be it a development, testing or another production environment that expects webhooks. We will be using Mailgun provider while for catching webhooks we will use http://bin.mailgun.net/ and https://bin.webhookrelay.com/.
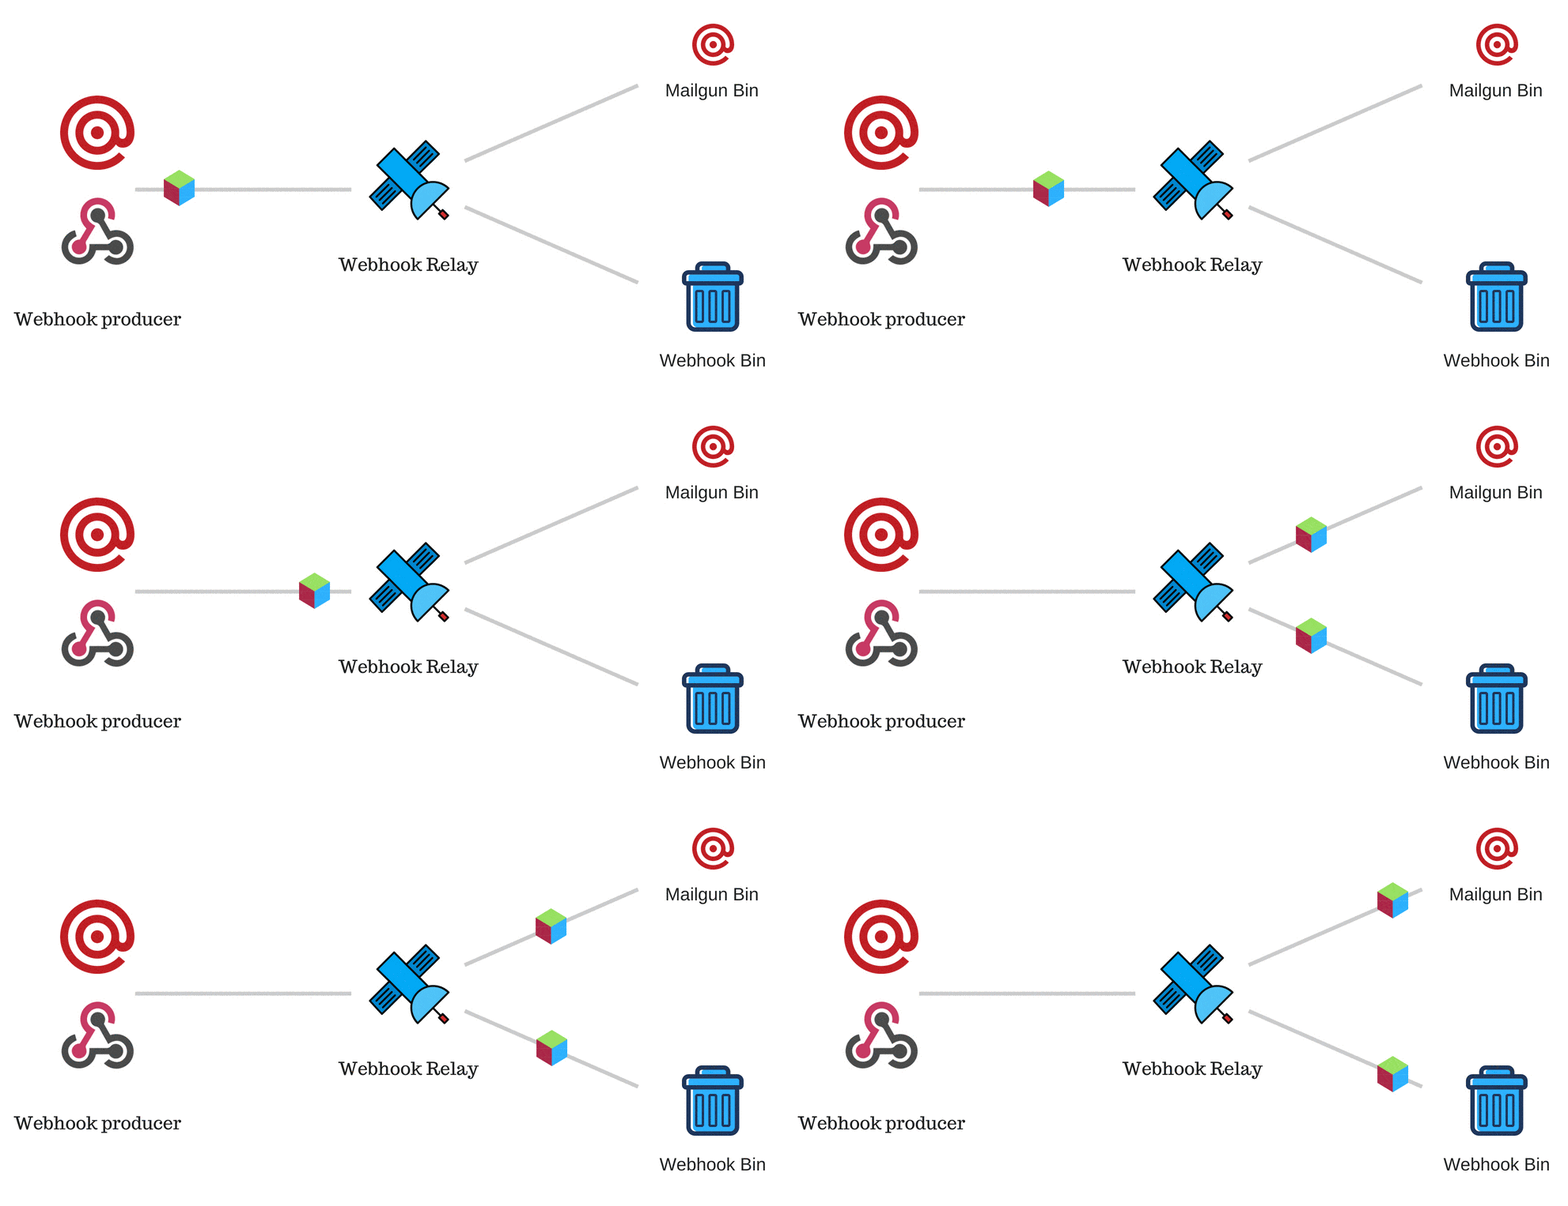
Setup
Our setup will be:
- Two or more "bins" that will be catching webhooks
- Webhook Relay bucket with those two bins as destinations and a public input endpoint URL
- Mailgun configuration that points to our Webhook Relay bucket's input endpoint URL
Creating bins
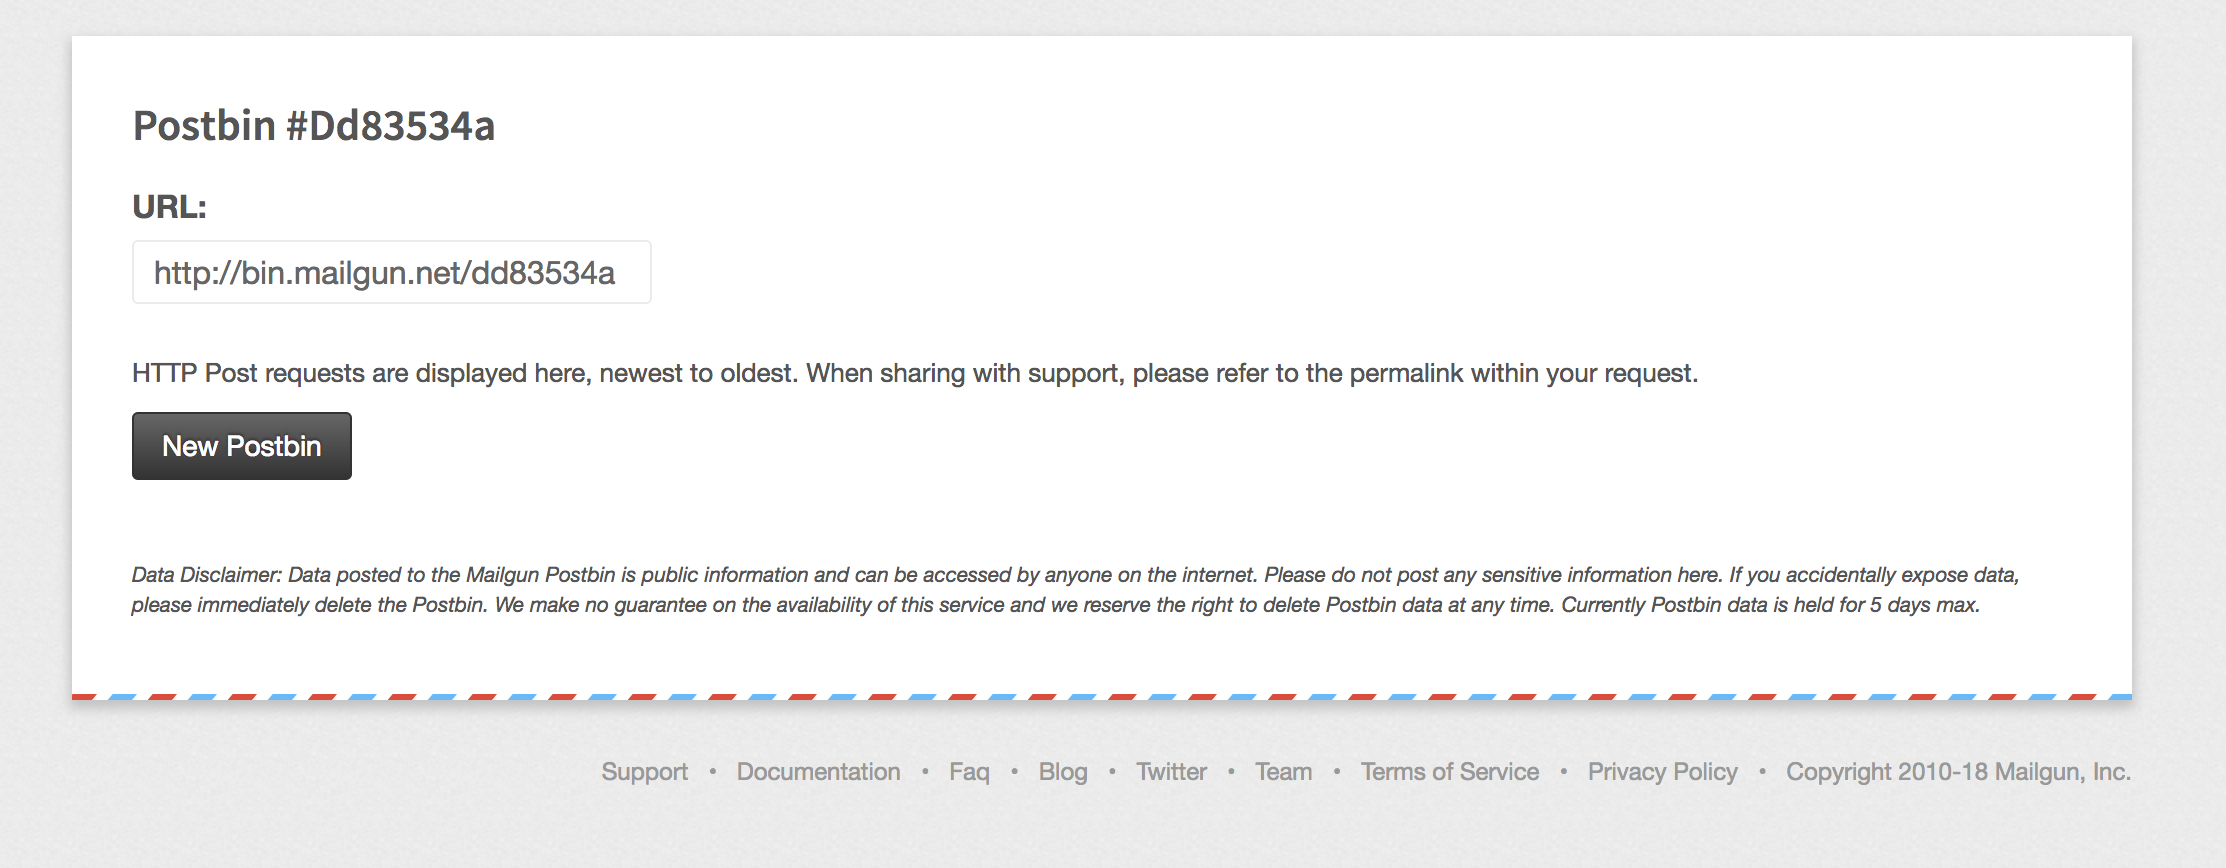
You can create a new bin by visiting http://bin.mailgun.net/ address. Keep the browser tab open, you will need that unique bin address.
Now, head to https://bin.webhookrelay.com/, here you should also be redirected to your unique bin where you will be able to accept webhooks.
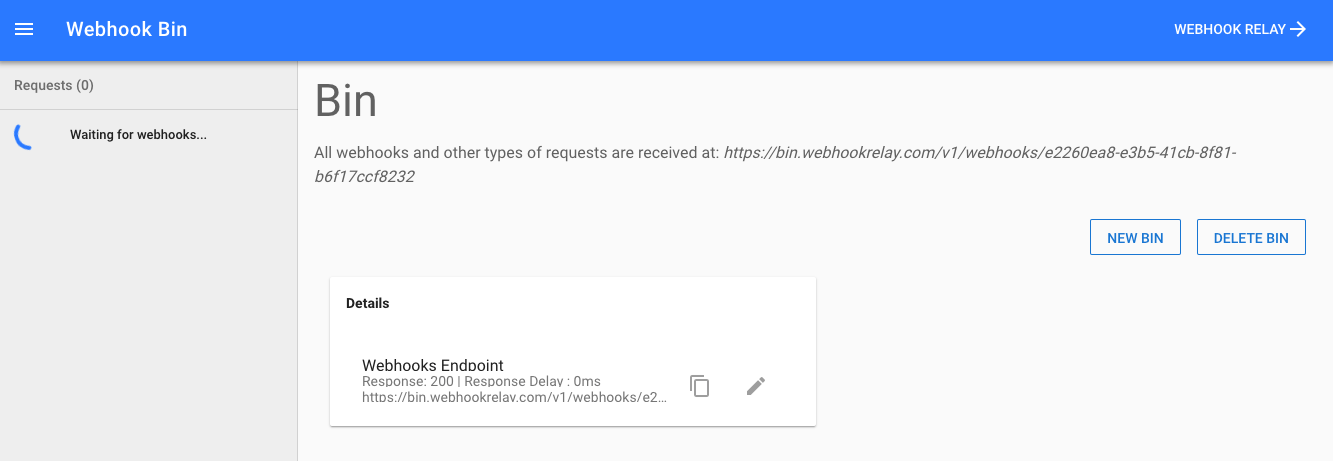
Both services will generate a unique endpoint that you can use to get a sample event data. In addition to storing request body data, Webhook Bin will also capture headers and can handle any request method (POST, PATCH, PUT...).
Configuring Webhook Relay bucket
If you already have an account with Webhook Relay (if not, please register here), just proceed to https://my.webhookrelay.com/buckets and click on "create bucket" button:

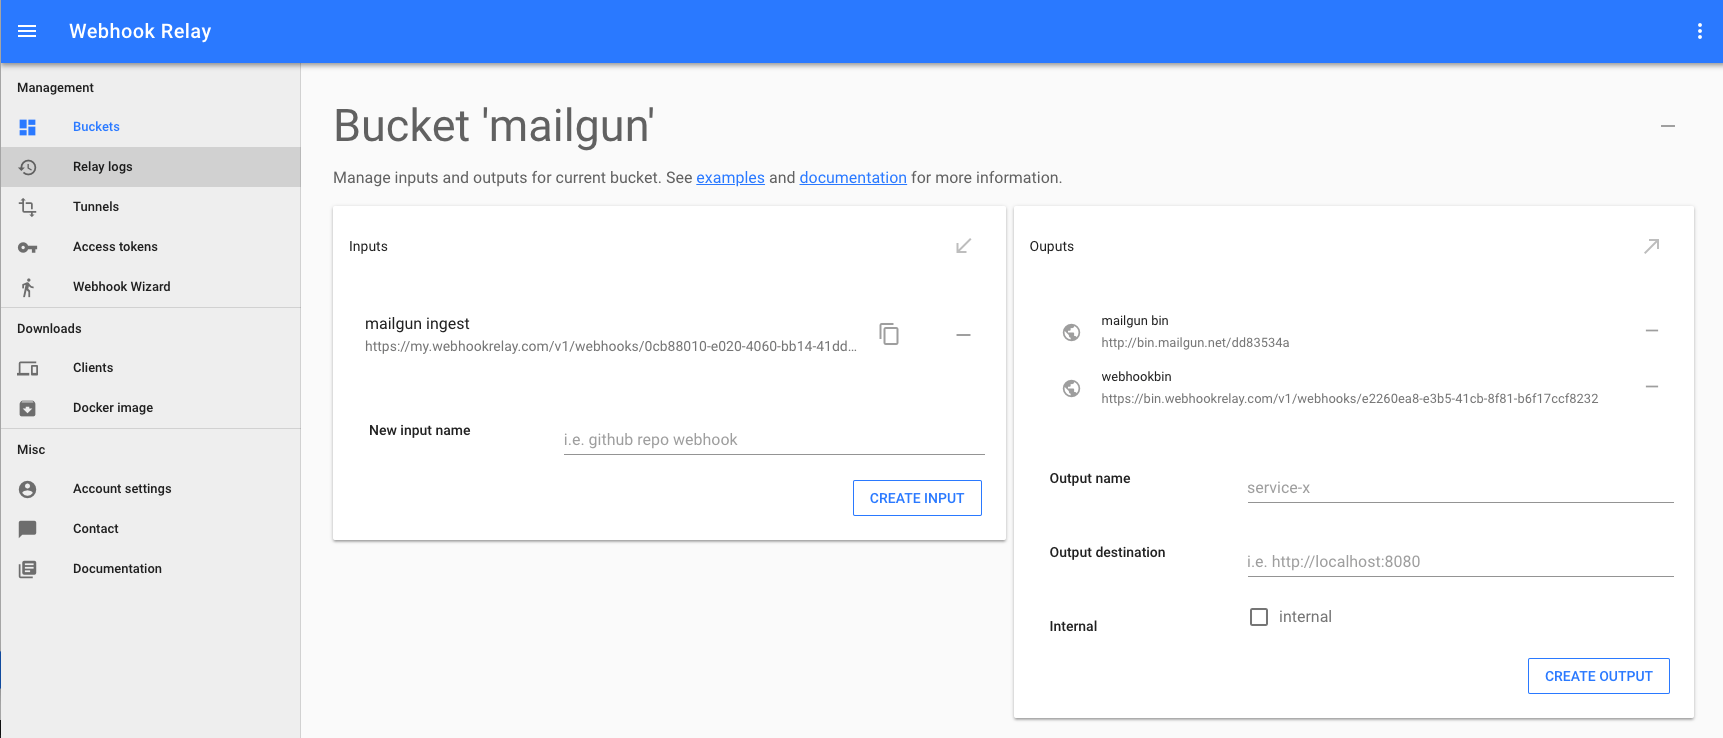
Now, we will need to add our endpoints and get a unique URL for this bucket:
- Add any name for the input, it's always good to give a name that is related to webhook producer
- Add two outputs (leave 'internal' not ticked, it is only required for endpoints that are not publicly accessible and should be routed from relay agent)
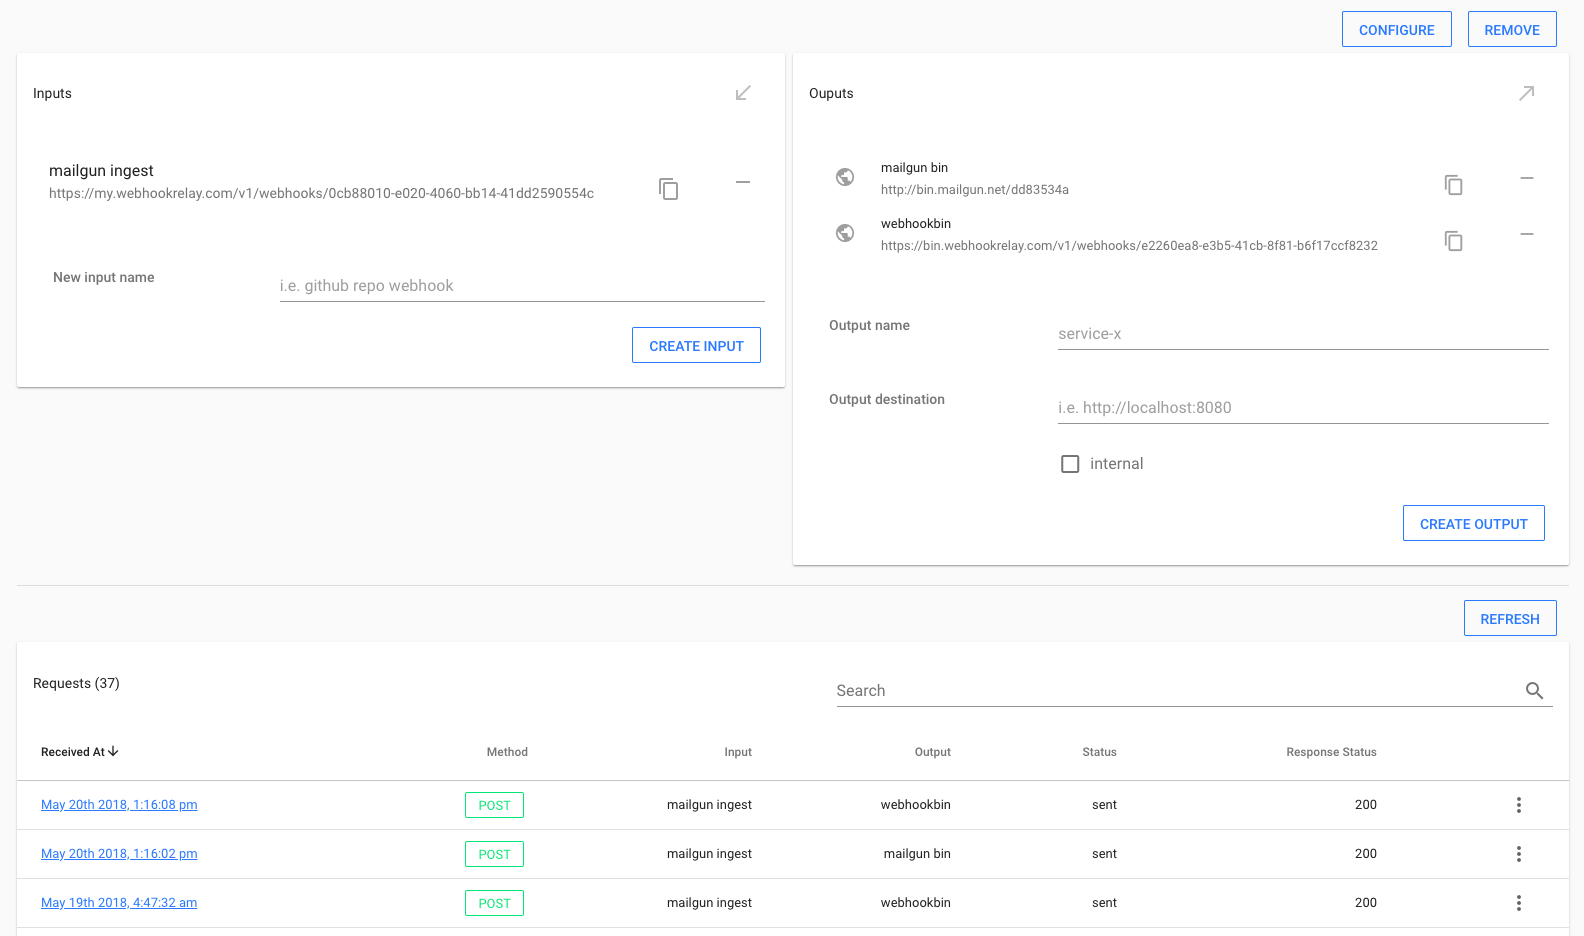
Your bucket configuration should look similar to this:
Setting up Mailgun webhooks
Once we have our Webhook Relay input endpoint and bucket configuration is complete, we can configure Mailgun webhooks.
First, let's copy our input endpoint:
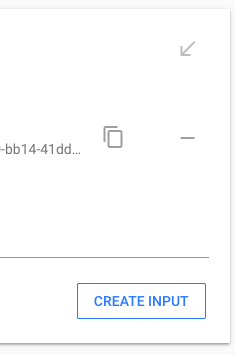
Now, head to your app's webhook configuration, dashboard can be found here: https://app.mailgun.com/app/webhooks (you can also use API).
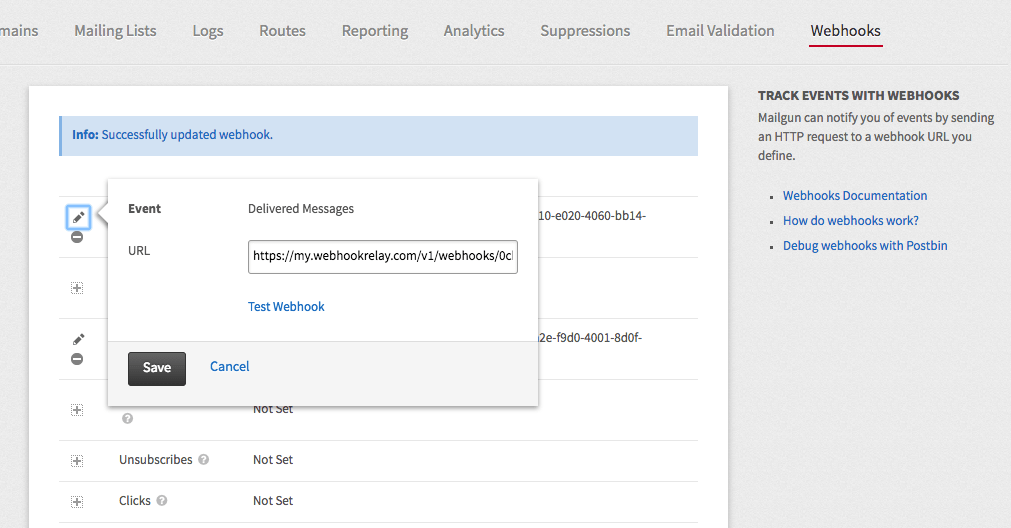
The webhooks page lists the different event types you can receive event data for. By clicking the "+" icon in front of each event, you can set the URL where the event data will be sent.
Click on "Delivered Messages" and add your bucket's endpoint URL: https://my.webhookrelay.com/v1/webhooks/<your ID here>, then click "Test Webhook":
Checking your Mailgun and Webhook bins
Mailgun webhook should have been routed through Webhook Relay bucket to those two external services (in our case those are just bins). Check your browser tabs that have those bins. They should look similarly to this (Mailgun bin will need a browser refresh to show changes) while Webhook Bin shows results immediately:
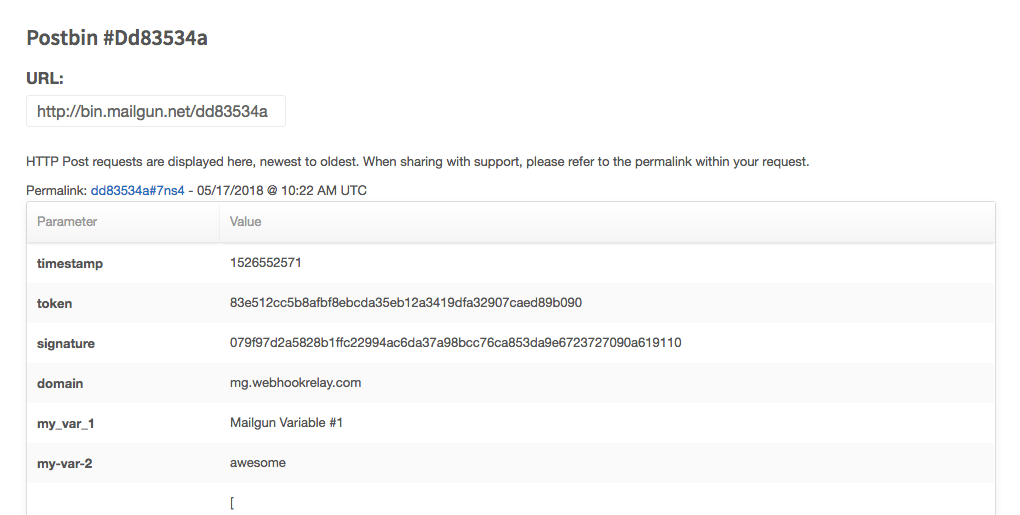
And Webhook Bin:
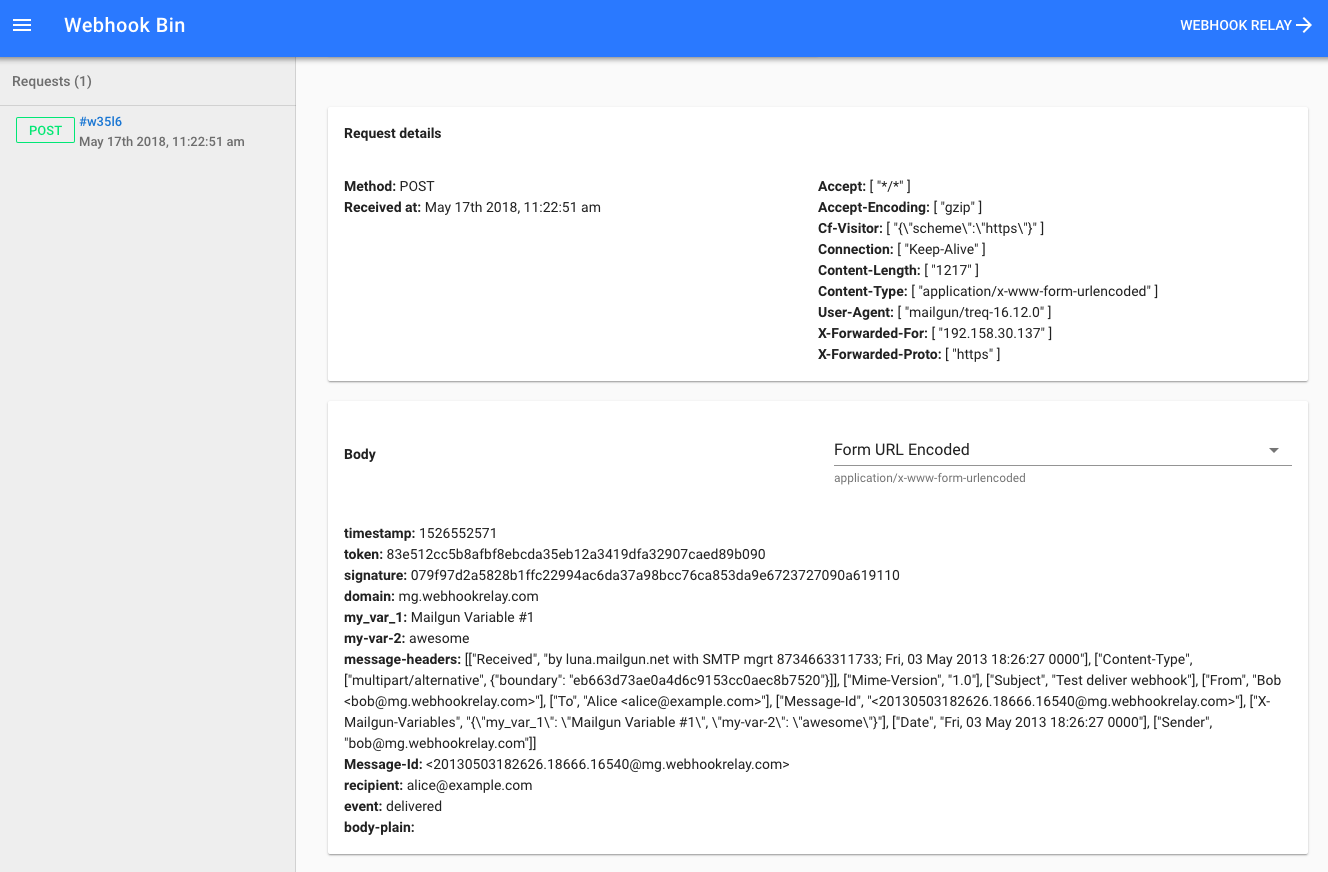
Webhook Bin sets request body prettifier based on content type header. You can select "RAW" from the dropdown menu to see the original message.
Your Webhook Relay bucket details page should also show all request logs:
Conclusion
Setting up Mailgun's webhooks is really easy and configuring Webhook Relay to forward all received webhooks to multiple destinations is trivial. You can easily forward a copy of webhooks to Slack or any other system before it reaches your backend service. If you want to read more on processing Mailgun's webhooks, they published an excellent article that you can find here: http://blog.mailgun.com/a-guide-to-using-mailguns-webhooks/.

