
Hassle-free remote access to Home Assistant on a Raspberry Pi
How to connect to your Home Assistant without public IP or NAT configuration
There are quite a few home automation systems out there but one of my favorites is Home Assistant. It's written in Python (available on GitHub), has a nice user interface and is very easy to deploy. Home Assistant has tons of integrations with many other online services and hardware devices.
In this short article we will use:
- Raspbian - operating system
- Etcher - probably the best tool to burn images
- Raspberry PI - our mini computer :)
- Docker - the easiest way to package and run server applications
- Webhook Relay - tunneling service to access Home Assistant from outside
- Home Assistant - home automation system
Using Hass.io? Check out our Add-on here.
TL;DR
Create tunnel through the UI and provision an access key & secret from the tunnels page.
Having those details, launch webhookrelayd container in a tunnel mode with your tunnel name specified (in this case tunnel name is rpi):
docker run --name whr-relayd --net host --restart always -d webhookrelay/webhookrelayd-arm:latest --mode tunnel -t rpi -k token-key -s token-secret
Start Home Assistant
docker run -d --name assistant -v /home/pi/home_assistant:/config -v /etc/localtime:/etc/localtime:ro --restart always homeassistant/raspberrypi3-homeassistant:0.76.2
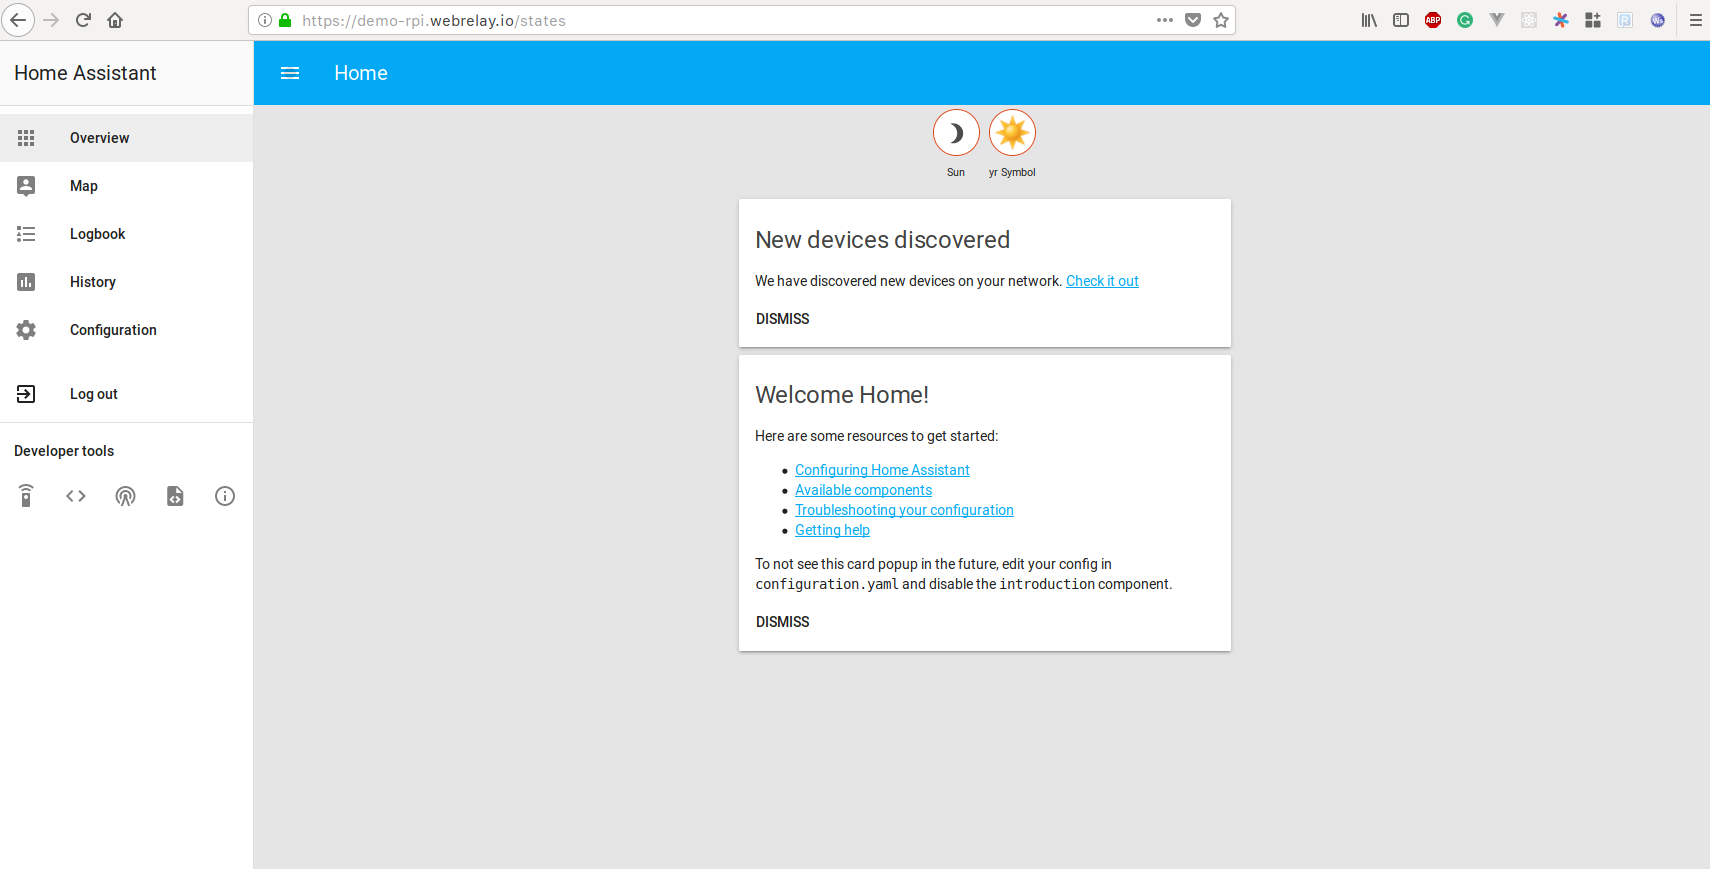
Open tunnel in the browser your-subdomain.webrelay.io from anywhere:
The detailed version
Memory Card Preparation:
- Insert MicroSD memory card into a computer
- Format it
- Download the Raspbian OS image from https://www.raspberrypi.org/downloads/raspbian/
- Open Etcher
![Etcher]](/images/blog/home-assistant/etcher.png)
- Using Etcher select the downloaded Raspbian image
- Select the drive that corresponds to your memory card
- Click flash!
Install Docker
From the Raspbian Desktop launch Terminal. Now, using terminal install Docker:
curl -sSL https://get.docker.com | sh
Official blog post on Docker support for Raspberry Pi can be found on their website.
Now, reboot it:
sudo reboot
Install Home Assistant
Visit the Raspberry Pi 3 Home Assistant Repository on the Docker Hub to determine the latest version available. To start Home Assistant is as simple as:
docker run -d --name assistant --net host -v /home/pi/home_assistant:/config -v /etc/localtime:/etc/localtime:ro --restart always homeassistant/raspberrypi3-homeassistant:0.76.2
Create a tunnel & token
Open https://my.webhookrelay.com/tunnels in your browser and click "create tunnel". If you are on a free plan, leave 'subdomain' and 'crypto' fields empty as they are only available for the paid plans, you will get auto-generated subdomain.
![Create tunnel]](/images/blog/home-assistant/rpi-tunnel.png)
We will also need a token for authentication. Go to https://my.webhookrelay.com/tokens and create a new token key & secret pair.
Keep secret somewhere safe as it is now encrypted and cannot be recovered. If you lose it, just generated a new pair.
Start webhookrelayd
To start a tunneling daemon, run (just replace key and secret with your own):
docker run --name whr-relayd --net host --restart always -d webhookrelay/webhookrelayd-arm:latest --mode tunnel -t rpi -k your-key -s your-secret
Conclusion
That's it, now you can access your Home Assistant remotely, without any need to configure your router, get static IP or buying a domain. Tunnels can also be protected by a basic auth but it would be better if you just enabled authentication for your Home Assistant. Check for more information in the official docs.