
Receive Mollie Webhooks Locally
Test Mollie webhooks locally on localhost without deploying. Mollie posts only the payment id, so inspect the real request, forward to your handler, and fetch status from the API.
You are integrating Mollie — taking payments across iDEAL, cards, and SEPA — and you need to see your handler react when a payment moves to paid, failed, or expired. The problem is immediate: Mollie will only POST to a public URL, and your handler is running on localhost:3000. Mollie has no way to reach it.
The usual workarounds are slow. Deploying to a staging server for every code change kills your iteration speed. And Mollie has a twist that catches people off guard: the webhook does not carry the payment details at all. So copying a "sample payload" from somewhere is doubly misleading. What you want is to test Mollie webhooks locally — real notifications, hitting your local handler, on a URL that does not change every time you restart.
This guide shows how to do exactly that.
How Mollie's webhook is different (and why it matters)
Most providers POST the full event to your URL. Mollie does not. Its classic webhook is a deliberately thin notification: when a payment's status changes, Mollie sends an HTTP POST whose body is a single form-encoded parameter — id=tr_xxxxxxxx — and nothing else. No JSON object, no status field, no signature header.
That is by design. The contract is: "object tr_xxxxxxxx changed — go ask the API what it looks like now." Your handler takes the id, calls the Mollie API with your own API key, reads the authoritative status, and only then fulfils the order. The security benefit is real: because the status comes from an authenticated API call rather than the POST body, a forged request to your webhook can never mark an order as paid. This is also why classic Mollie webhooks ship no HMAC signature — there is nothing in the body worth signing.
Knowing this up front saves you from writing a handler that trusts a payload that does not exist.
Why testing Mollie webhooks on localhost is tricky
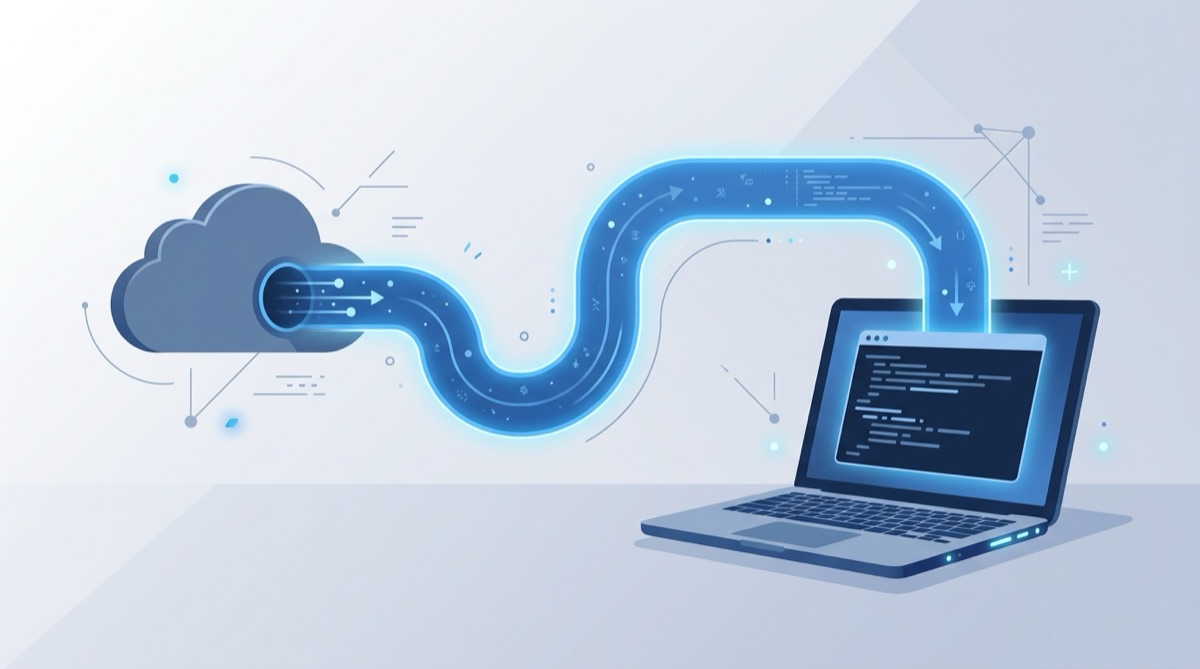
Mollie sits on the public internet; your dev machine usually does not. It is behind a router, a corporate firewall, or both, with no public IP and no inbound ports open. So you need something in the middle: a public endpoint Mollie can hit, that relays each request down to your laptop without you opening a single firewall port.
That is what Webhook Relay does — and unlike a random tunnel URL, the endpoint is stable, so the webhookUrl you set on your payments keeps working across restarts.
Step 1: Inspect the real request with Webhook Bin
Before you write any handler code, confirm for yourself exactly what Mollie sends. Open the free Webhook Bin — no signup — and you get an instant public URL.
- Copy the Webhook Bin URL.
- Create a test payment via the Mollie API and pass the Webhook Bin URL as the
webhookUrlfield. (You can also set a default webhook on a profile in the Mollie Dashboard.) - Complete or cancel the payment in Mollie's test checkout.
The notification lands in Webhook Bin right away. Inspect it and you will see exactly the shape described above: a Content-Type: application/x-www-form-urlencoded body containing only id=tr_..., and standard HTTP headers with no signature header. Seeing the real, tiny request makes the "fetch from the API" flow click. For more on this approach, see How to test webhooks and What is a webhook.
Step 2: Forward the notifications to localhost with the relay agent
Now route those same notifications into your local handler. Sign up for Webhook Relay, install the relay agent (CLI or Docker), and create a bucket — say mollie. The bucket gives you a stable public input endpoint.
Start forwarding to your local server:
relay forward --bucket mollie http://localhost:3000/webhooks/mollie
The agent opens an outbound connection to Webhook Relay and streams every incoming request down to http://localhost:3000/webhooks/mollie. Because the connection is outbound, there are no firewall ports to open and no public IP needed — this works from your laptop, behind a corporate proxy, or inside a Kubernetes cluster. Running in Docker? The same command works in the official webhookrelay/webhookrelayd image. Full details are in the localhost forwarding docs.
Now set the Webhook Relay endpoint as your webhookUrl (or in your dashboard profile), create a test payment, and watch the id=tr_... notification arrive on localhost.
What your local handler should do
Because the POST only carries an id, your handler's job is a fixed three-step dance:
- Read the
idfrom the form-encoded body (for a payment it istr_...; subscriptions and orders use other prefixes). - Fetch from the Mollie API —
GET https://api.mollie.com/v2/payments/{id}with your API key — to read the authoritative currentstatus(open,paid,failed,canceled,expired). - Act on the real status — fulfil, retry, or ignore — and always return
200 OKquickly so Mollie does not retry unnecessarily.
A few Mollie quirks worth knowing:
- Retries: if your endpoint does not return a
2xx, Mollie retries the notification on a schedule. Make your handler idempotent — the sameidmay arrive several times. - No status in the body: never branch on anything in the POST body except the
id. The status only exists in the API response. - Test vs live keys: fetch the payment with the API key from the same mode (test/live) the payment was created in, or the lookup will 404.
Verifying a Mollie webhook
Classic Mollie webhooks have no signature to check — the verification is the API fetch. Looking up the id with your secret API key is what proves the notification is genuine, because only a real payment in your account will resolve.
That said, the moment you start adding HMAC-signed webhooks from other providers (Stripe, GitHub, Razorpay), you will want a repeatable way to check signatures. The free HMAC signature verifier and the guide on how to verify a webhook signature cover that flow — handy when your stack mixes Mollie with a provider that does sign its payloads.
Replay and iterate
This is where local development gets fast:
- Replay from Webhook Relay — past notifications are stored on your bucket, so you can resend the same
id=tr_...POST without creating a brand-new payment in Mollie. Your handler re-runs the full fetch-and-fulfil flow against a real payment id. - Iterate on your handler by editing code and replaying the same notification until the API fetch, status handling, and order logic all behave. No redeploys to test the
expiredpath.
Because the Webhook Relay endpoint is stable, you can stop and restart the agent, reboot your machine, or come back next week — the webhookUrl on your payments never needs to change. If you are also wiring up another payment provider, the same flow works for Stripe webhooks on localhost.
Get started
- Inspect the real notification in the free Webhook Bin — no signup needed.
- Create a Webhook Relay account, install the agent, and run
relay forward --bucket mollie http://localhost:3000/webhooks/mollie. - Point your Mollie
webhookUrlat the stable endpoint, create a test payment, and watch theidnotification hitlocalhost.
You will be testing real Mollie notifications against your local handler in a few minutes — no deploys, no open firewall ports, and a URL you configure exactly once.