
Test WhatsApp Webhooks Locally
Test WhatsApp Cloud API webhooks locally on localhost. Pass Meta's verify-token GET handshake, inspect message payloads, and verify the X-Hub-Signature-256.
You are building a WhatsApp integration on the Meta WhatsApp Cloud API — a chatbot, a notification responder, a support inbox — and you need to watch your handler react to a real inbound messages or delivery statuses event. The problem is immediate: Meta will only call a public URL over HTTPS, and your handler is running on localhost:8080. Meta has no way to reach it.
The usual workarounds are painful. Deploying to a staging server for every code change is slow. And WhatsApp adds a twist most providers do not: before any events flow, Meta runs a verification handshake — a GET request your endpoint has to answer correctly, or the webhook will not save at all. Copying a sample payload into curl never exercises that handshake. What you want is to test WhatsApp webhooks locally — real verification, real messages, hitting your local handler, on a URL that does not change every time you restart.
This guide shows how to do exactly that.
Why testing WhatsApp Cloud API webhooks locally is tricky
A webhook is just an HTTP request Meta sends to a URL when something happens — a customer messages your number, or a message you sent changes status. Meta lives on the public internet; your dev machine usually does not. It sits behind a router, a corporate firewall, or both, with no public IP and no inbound ports open. Meta also requires a valid HTTPS endpoint — self-signed certificates are rejected.
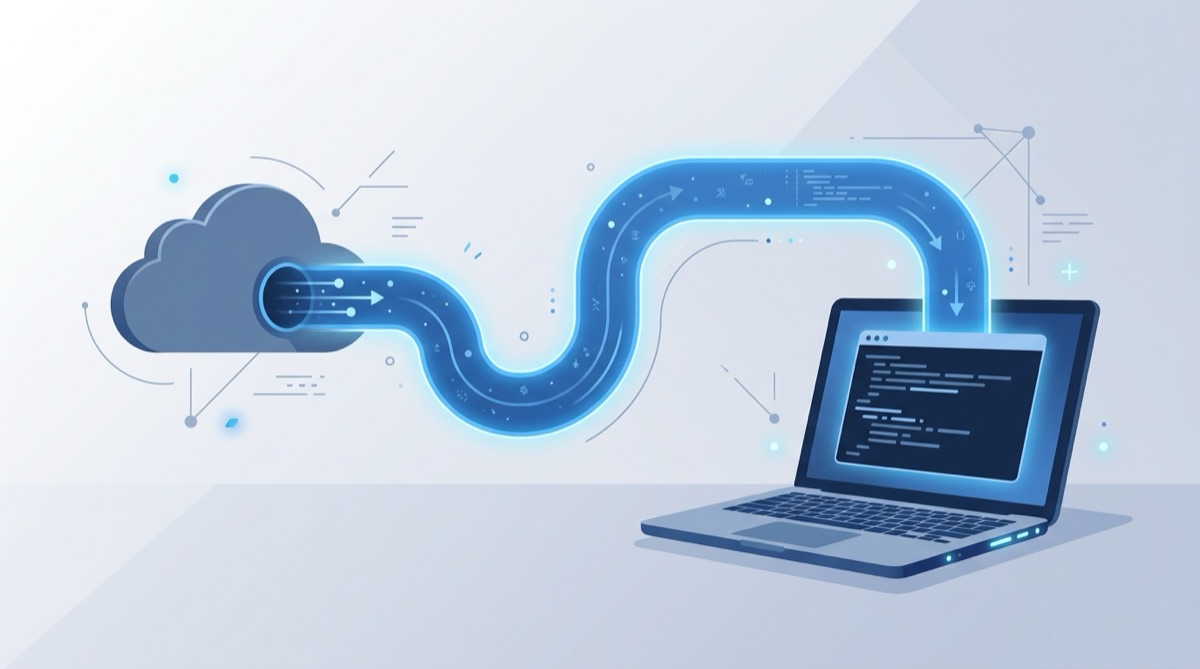
So you need something in the middle: a public HTTPS endpoint Meta can hit that relays each request down to your laptop without you opening a single firewall port or wrangling a TLS certificate. That is what Webhook Relay does — and unlike a random tunnel URL, the endpoint is stable, so you pass Meta's verification once and never touch it again.
Step 1: Forward to localhost with the relay agent
Because WhatsApp's setup begins with a verification call to your endpoint, get the tunnel to localhost running first. Sign up for Webhook Relay, install the relay agent (CLI or Docker), and create a bucket — say whatsapp. The bucket gives you a stable public HTTPS input endpoint.
Start forwarding to your local server:
relay forward --bucket whatsapp http://localhost:8080/webhook
The agent opens an outbound connection to Webhook Relay and streams every incoming request down to http://localhost:8080/webhook. Because the connection is outbound, there are no firewall ports to open and no public IP needed — this works from your laptop, behind a corporate proxy, or inside a Kubernetes cluster. Running in Docker? The same command works in the official webhookrelay/webhookrelayd image. Full details are in the localhost forwarding docs.
Step 2: Pass Meta's verify-token GET handshake
This is the step that trips people up, so be precise. When you register the Callback URL in the Meta App Dashboard, Meta sends a GET request to your endpoint with three query parameters:
hub.mode— alwayssubscribehub.verify_token— the exact string you typed into the dashboard's Verify token fieldhub.challenge— a random string Meta wants echoed back
Your handler must check that hub.mode is subscribe and that hub.verify_token matches your token, then respond with HTTP 200 and the value of hub.challenge as the plain response body (just the challenge string, nothing else). If the token does not match, respond 403. Until Meta receives the correct challenge echo, it will not save the webhook.
A minimal handler looks like this:
@app.get("/webhook")
def verify():
    if (request.args.get("hub.mode") == "subscribe"
            and request.args.get("hub.verify_token") == VERIFY_TOKEN):
        return request.args.get("hub.challenge"), 200
    return "Forbidden", 403
Now wire it up: in the Meta App Dashboard go to WhatsApp → Configuration → Webhook, click Edit, paste your Webhook Relay endpoint as the Callback URL, enter your Verify token, and click Verify and save. With the relay agent running and your GET handler returning the challenge, the handshake passes and the webhook is saved.
Step 3: Subscribe and inspect the real payload
Once the URL is verified, choose which events you want. Under the same Configuration → Webhook panel, click Manage and subscribe to the fields you need — typically messages (inbound messages and statuses updates arrive under this field).
Want to see the exact event shape before coding against it? Point the Callback URL at a free Webhook Bin instead — but note the catch: Webhook Bin returns a generic 200, not the hub.challenge, so it is great for inspecting the verification GET and the message POSTs, but Meta will not finalize the subscription until your real handler echoes the challenge. Use the Bin to learn the payload, then switch to your bucket.
Send a WhatsApp message to your test number and inspect the captured POST: a JSON body with the object set to whatsapp_business_account, an entry array, and nested changes containing the messages or statuses payload. You will also see the headers, including X-Hub-Signature-256.
For more on this approach, see How to test webhooks and What is a webhook.
Step 4: Verify the X-Hub-Signature-256 signature
Every event POST is signed. Meta computes an HMAC-SHA256 of the raw request body using your Meta app's App Secret and sends the digest in the X-Hub-Signature-256 header, formatted as sha256=.... Your handler should recompute the HMAC over the raw body and compare it to the header in constant time before trusting the message.
The classic pitfall: if your framework parses the JSON first and you re-serialize it, the bytes change and the signature will never match. Capture the raw body for the comparison. To sanity-check your implementation, paste a captured body, your App Secret, and the received signature into the free HMAC signature verifier. For language-specific code and more edge cases, read Verify a webhook signature.
Replay and iterate
This is where local development gets fast:
- Replay from Webhook Relay — past requests are stored on your bucket, so you can resend a captured message event against your handler without sending a new WhatsApp message every time.
- Iterate on your handler by editing code and replaying the same delivery until it behaves correctly. No deploys just to test a single branch.
- Keep
relay forwardrunning while you work — both the verification GET and live message POSTs stream straight tolocalhost.
Because the Webhook Relay endpoint is stable, you can stop and restart the agent, reboot your machine, or come back next week — the Meta configuration and the verify token never need to change.
Get started
- Create a Webhook Relay account, install the agent, and run
relay forward --bucket whatsapp http://localhost:8080/webhook. - In Meta App Dashboard → WhatsApp → Configuration, set the Callback URL to your stable endpoint, enter your verify token, and let your local GET handler echo the
hub.challenge. - Subscribe to messages, send a test message, and watch the signed event hit
localhost.
You will be testing real WhatsApp Cloud API events against your local handler in a few minutes — verify-token handshake included, no deploys, no open firewall ports, and a URL you configure exactly once.